When it comes to styling your hair, how it dries can make or break your style. You should always air dry the right way, and make sure you’re using your hairdryer correctly, which means using the proper hairdryer attachments. It’s what they’re there for!
Read on to learn all about hair dryer attachments and how to use them.
1. Concentrator Nozzle
The first attachment that everyone needs to get familiar with is the concentrator nozzle. It’s the one with a flat vent. Basically, a concentrator nozzle changes the flow of the air coming out of the blowdryer. Instead of just coming out hot and fast all over, the concentrator, as the name suggests, focuses the airflow for more targeted drying. It usually comes in two variants narrow and wide.
The concentrator makes it possible to dry specific sections at a time. This makes it easier to blow-dry your bangs straight or add volume to the root of your hair. It’s also the type of hair dryer attachments that makes blowouts possible.
Most hair dryer attachments just clip onto your dryer, some slip over the end of the dryer, and some fancy ones click on magnetically. To best use a concentrator nozzle, it’s a good idea to have your hair already partially dried. Trying to dry all of your hair just with the concentrator can take much longer and can have you creating unintentional hot spots.
With hair that is about 60-70 percent dry, use the concentrator to direct air onto specific sections of hair. If you want to do an at-home blowout, you can use the nozzle to help direct the air at the hair on the brush. If you’re aiming for lift, the concentrator nozzle can help you dry your roots upwards to create more volume.
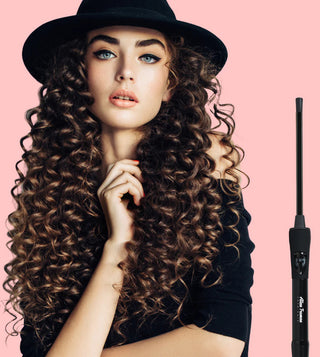
2. Diffuser Attachment
The hairdryer attachments made for curly girls is the diffuser. Shaped like a bowl with tines sticking out, it has holes in them to let the air from the dryer flow through. This makes for a quick and frizz-free drying experience, as the shape of the curl is left intact during the drying process.
The diffuser head forces the air coming out of the dryer to spread out and up through the tines. So when you’re using it to dry your hair, less air is being directed in one area. Instead, the air is spread out, making this method of drying much gentler on hair.
When blow-drying curly hair, it’s important to make sure you maintain its moisture levels. You want your hair dry but still moisturized. It’s best to use the diffuser to get defined curls. Really all you need to do is lay your curls onto the diffuser and proceed to dry! If your dryer has heat and speed settings, try the lowest and slowest. Only work your way up to hotter temps and faster airflow if you need to. You can lean your hair over and dry upwards for the length of your hair, and place it near your head to dry your roots as needed.
Using the right attachment in the right way can maximize your style, just as going rogue can leave you with frizzy, poofy hair. It’s always a good idea to use your dryer attachments wisely.
#alantruman #alantrumanofficial #Alantrumanlovehair #blowstyling #hairdryer #hairblog #hairtutorial #hair
All material on this website, including design, content, photographs, graphical images, and logos are owned by alantruman.com, either through copyright or trademark unless otherwise indicated. All rights are reserved by alantruman.com. Content may not be copied, reproduced, transmitted, distributed, downloaded, or transferred in any form or by any means.